Neapolitan Ice Cream Pops (Vegan)
August 18, 2018
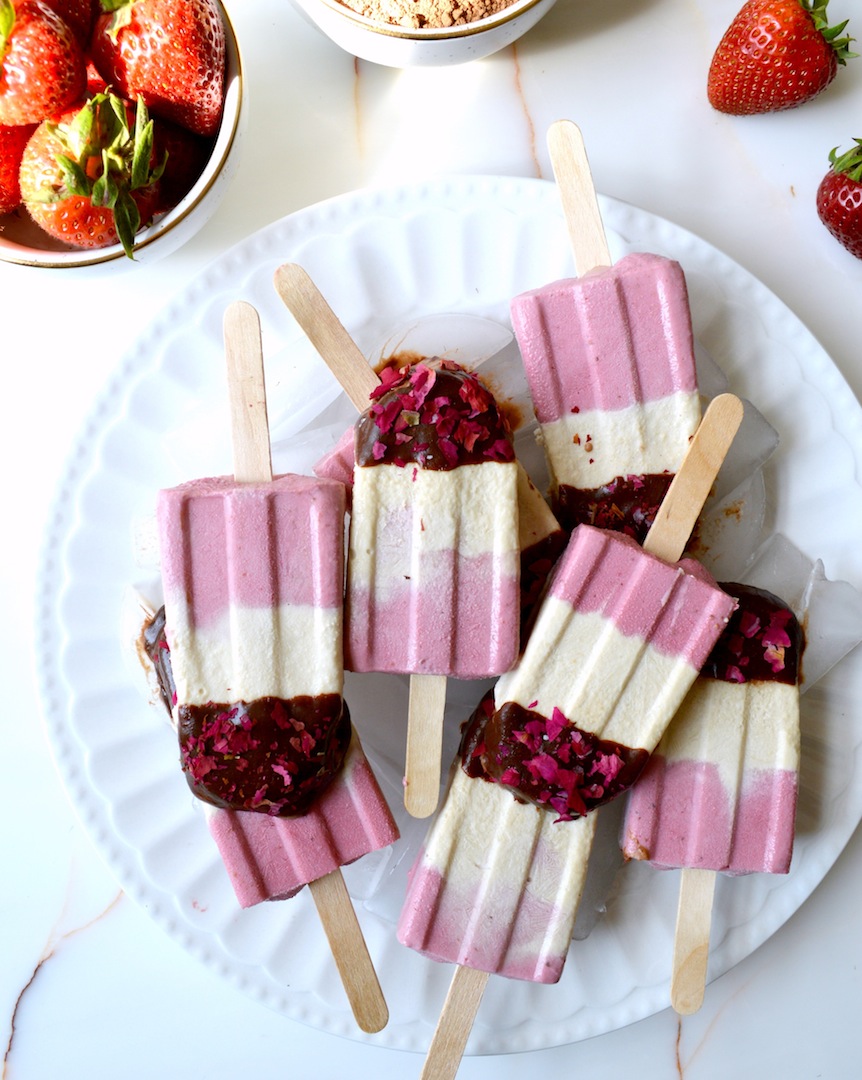
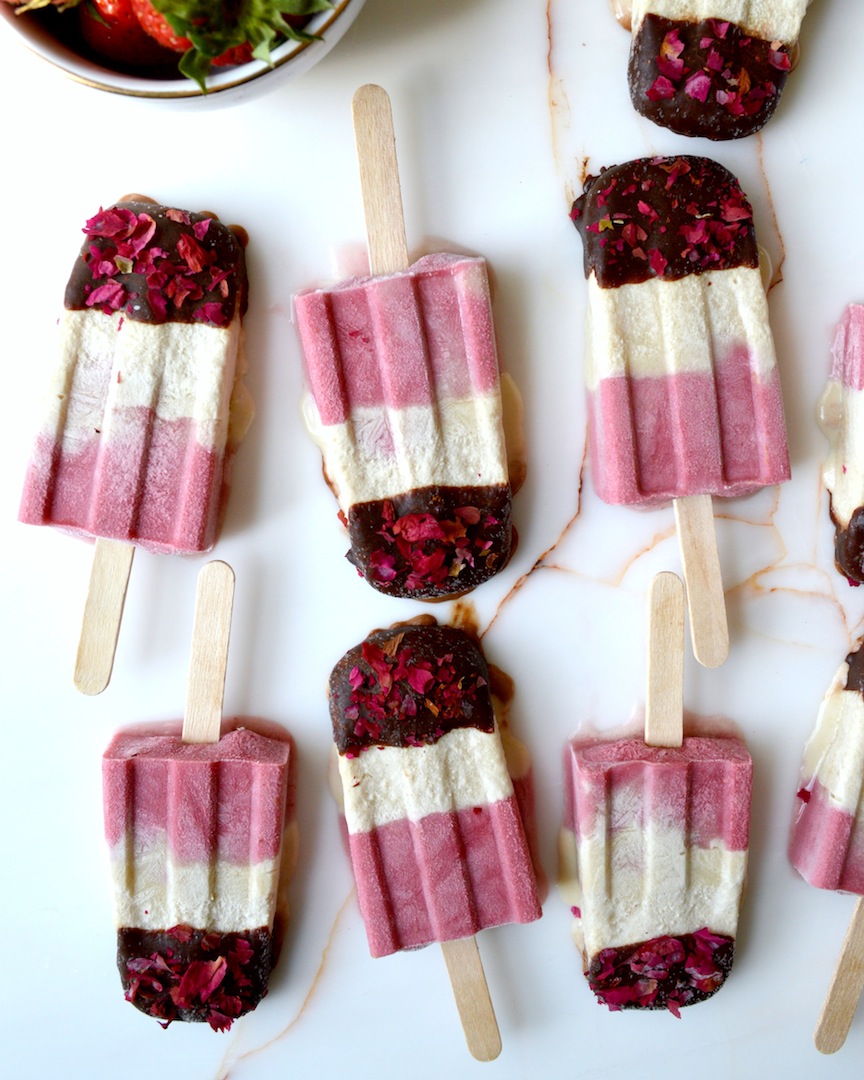
Beat the heat with the cutest of summer treats! These Neapolitan Ice Cream Pops are sweet, simple, and oh so nostalgic, with three creamy layers of vanilla, chocolate, and strawberry, dipped in rich dark chocolate for some added decadence!
Made with a base of coconut milk and cashews, these pops are a healthier, plant-based dessert you can enjoy any time of day, all summer long – or as long as you can keep them in the freezer, they don’t last very long in my house!
This is the popsicle mold I use. It's great, but any mold will do! Beware, these melt pretty quickly. Hence why I wasn't able to get many pictures, and they look a bit messy – but tasty nonetheless!
Ingredients:
Vanilla Ice Cream
- 1 (13.5-oz.) can organic coconut milk
- ½ cup raw cashews, soaked and drained
- ¼ cup pure maple syrup
- 2 tsp. pure vanilla extract
- ¼ tsp. sea salt
Chocolate Ice Cream
- 1 Tbsp. organic cacao powder
- 1 Tbsp. pure maple syrup
Strawberry Ice Cream
- 1 cup fresh diced strawberries
Chocolate Shell
- 2 Tbsp. pure maple syrup
- 1 Tbsp. coconut oil
- 1 Tbsp. raw organic cocoa butter wafers
- ¼ tsp. pure vanilla extract
- ⅛ tsp. sea salt
- 2 Tbsp. organic cacao powder
Directions:
For the Vanilla Ice Cream
- Soak cashews in warm water for 4-6 hours. Drain and place in the foodprocessor with the rest of the vanilla ice cream ingredients. Blend until creamy and smooth.
- Remove about ¼ of the vanilla ice cream from the food processor, place in a separate bowl and set aside to use for the strawberry layer. Scoop ½ of the remaining vanilla mixture into a large Ziploc bag, seal and set aside to use after the chocolate layer.
For the Chocolate Ice Cream
- Add chocolate ice cream ingredients to the vanilla mixture remaining in the food processor and blend well.
- Spoon chocolate ice cream into large Ziploc bag, seal, and cut a small tip from the bottom corner. Gently squeeze and evenly distribute among 10 popsicle molds, careful not to get around the sides.
- Place in the freezer to set, about 30 minutes.
- After the chocolate layer has solidified, cut a small tip from the bottom corner of the Ziploc bag with the vanilla ice cream, then carefully add to each mold.
- Place in the freezer to set again, about 30 minutes.
- Clean out the food processor to prepare the strawberry ice cream.
For the Strawberry Ice Cream
- Add remaining vanilla mixture from the bowl to the food processor, along with the fresh diced strawberries. Blend until creamy and smooth.
- After the vanilla layer has solidified, spoon strawberry ice cream into large Ziploc bag, seal, and cut a small tip from the bottom corner, then carefully top off each mold.
- Insert popsicles sticks and cover with lid. Freeze until set, at least 4 hours.
For the Chocolate Shell
- After the popsicles have set, prepare the chocolate shell using the double boiler method: Fill a small-medium sized pot/saucepan halfway with water. Set on the stove over medium heat and place a heatproof bowl (metal or glass) over the top (the bowl should sit on top, not inside).
- Add the cocoa butter wafers, coconut oil, maple, vanilla, and salt to the bowl and stir until fully melted.
- Whisk in the cacao powder until fully combined, then remove bowl from heat and allow to cool to room temperature.
Remove popsicles by running molds under warm water for a few seconds to loosen. Lift popsicles out and dip in the cooled chocolate, then lay on a parchment lined baking sheet. Sprinkle with dried rose petals or other toppings of choice, then place back in the freezer to set for at least 15 minutes before serving. Store in the freezer.


Leave a Comment!